Introduction
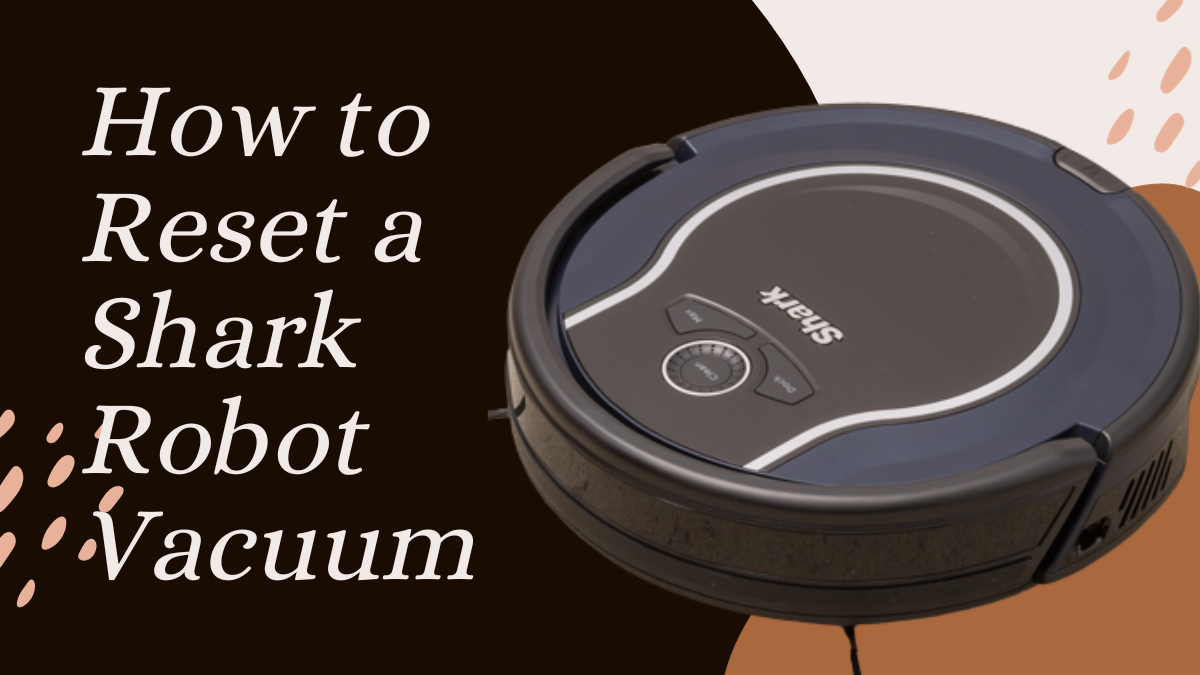
Robot vacuums have become increasingly popular for their efficiency in keeping your floors clean without requiring much effort on your part. However, like any electronic device, they can encounter issues that might necessitate a reset. Whether it is acting up or you simply want to start fresh, this step-by-step guide on how to reset a shark robot vacuum will help you do it easily.
Why Reset A Shark Robot Vacuum?
Before diving into the reset process, it’s important to understand why you might need to reset it.
1. Technical Glitches: Sometimes, your vacuum may experience technical glitches, causing it to behave unexpectedly or not work at all. Resetting can resolve these issues.
2. Wi-Fi Connection Problems: If your robot vacuum is connected to your Wi-Fi network and it’s having trouble staying connected or responding to your app commands, a reset can help reestablish the connection.
3. Routine Maintenance: Performing a reset can be part of routine maintenance to clear any accumulated data or minor errors, ensuring optimal performance.
Steps to Reset a Shark Robot Vacuum properly:
There are two possible ways to reset it. Through the SharkClean mobile app or doing it manually.
Resetting using the SharkClean Mobile App:
To reset a Shark robot vacuum using the SharkClean mobile app:
- Open the SharkClean app.
- Go to Settings, and select Factory Reset.
- The Shark robot will restore itself to its factory settings.
Doing it Manually:
If you want to reset it manually, follow these simple steps to reset it:
Step 1: Prepare Your Robot Vacuum
Before starting the reset process, make sure your Shark robot vacuum is in a suitable location, such as near its charging dock, and is turned on. It’s essential to have the vacuum in a stable position.
Step 2: Locate the Reset Button
On most Shark robot vacuum models, you’ll find the reset button on the bottom or side of the vacuum. Refer to your vacuum’s user manual if you’re unsure about the reset button’s location.
Step 3: Press and Hold the Reset Button
Press and hold the reset button for approximately 10-15 seconds. You may need to use a small, pointed object like a paperclip or a pen to reach the button.
Step 4: Observe the Status Lights
As you hold down the reset button, watch for any changes in the status lights on it. These lights might flash or change color to indicate that the reset process is underway.
Step 5: Release the Reset Button
Once you’ve held the reset button for the specified duration and the status lights have changed, release the button.
Step 6: Power Off and On
After releasing the reset button, turn off your Shark robot vacuum and then turn it back on. This step helps complete the reset process.
Step 7: Reconnect to Wi-Fi (if applicable)
If your Shark robot vacuum is connected to your home Wi-Fi network and you had issues with the connection, you may need to reconnect it to your Wi-Fi network using the Shark app.
Step 8: Test the Vacuum
Now that you’ve completed the reset process, test your vacuum to ensure it’s functioning correctly. Let it run a cleaning cycle or perform other tasks to confirm that any issues you were experiencing have been resolved.
Conclusion:
Reset a Shark robot vacuum is a straightforward process that can help resolve technical issues, improve performance, and maintain the overall health of your vacuum. By following these step-by-step instructions, you can quickly reset it and enjoy clean floors with ease. Remember to consult your vacuum’s user manual for specific guidance on your model, as there may be slight variations in the reset process among different models. If you want, you can learn more about robot vacuums compatible with homekit here.

